Showing posts with label tools. Show all posts

Wednesday, September 30, 2009

Bias Tape Maker

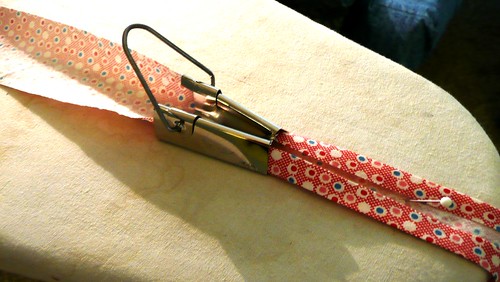
I reviewed the Dritz Bias Tape Maker over at Craft Critique. Read my review HERE.


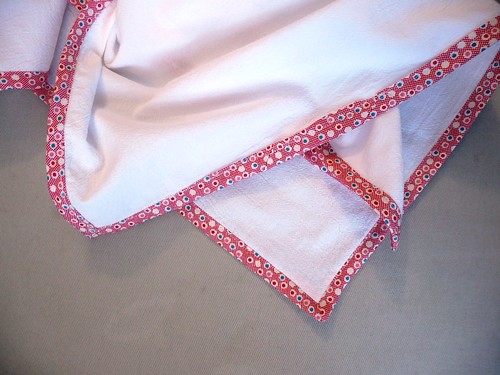
I managed to bind my tea towel successfully, but my feelings on this particular tool are: buy the Clover brand one instead. The extra dollar cost is worth it.

Friday, August 28, 2009

Sewing Tool Article

I tested the Dritz Magnetic Seam Guide. It is a useful little sewing tool. Read about it at Craft Critique HERE.


Envelope Pouches

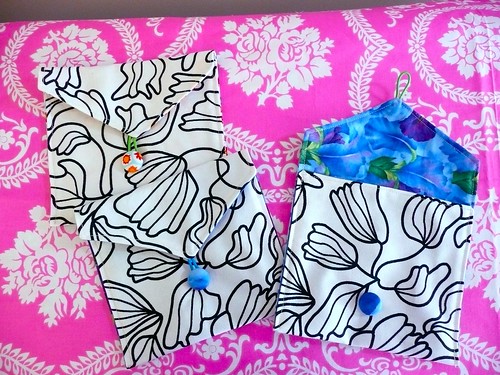
I used THIS tutorial from maya*made to make some very easy envelope pouches.

Envelope Pouches with Covered Buttons

Cute, Huh? That black and white fabric is a home dec weight from Ikea. I bought it to use my fabric markers to color in areas here and there, but I never got around to that.

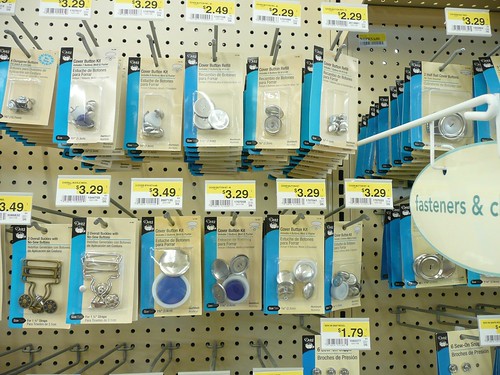
These adorable pouches look great with fabric covered buttons. It may be hard to believe, but I have never covered fabric buttons before. I heard that it is easy. I think it is the prices on the notions wall that kept me away for so long. Dritz charges half these prices under their Prim brand at WalMart. Say what you want about Wal Mart, but at least they still sell sewing notions.. Seriously, that one large covered button is $3.49?!?!

It's all about Dritz in the Notions Department

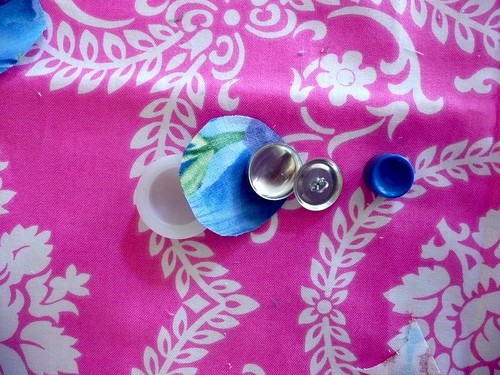
Well, anyway, this could be super thrifty project if the covered buttons weren't about 75 cents apiece... So all my parts are lined up:

Fabric covered buttons

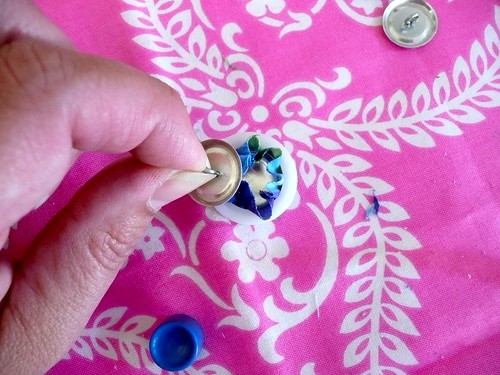
Get all that fabric straight and tucked in:

Button Covering tool

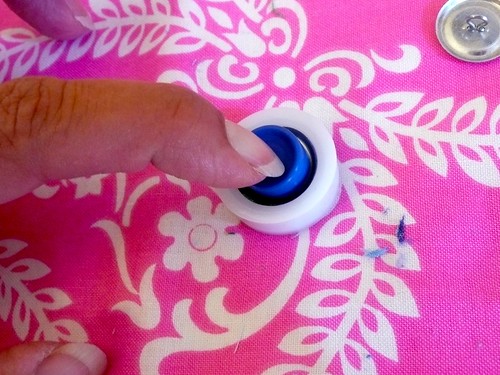
Push it all together with the little tool. Push hard until it snaps in place:

Button Covering tool
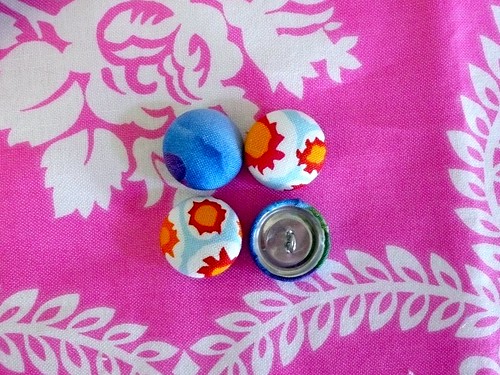
Voila! Nice right? I want to make about 50, just to have a big pretty pile to use for whatever strikes my fancy. Anyone got any bulk suppliers to recommend?

Fabric Covered Buttons

I was going to review this little product for Craft Critique, but Kim Fox beat me to it! She used hers for papercrafting. She also didn't say anything about the price. I would be much happier to have gotten about 10 or 12 buttons in the package for the price instead of just 5.

Fabric Covered Buton


Monday, November 24, 2008

Birthday Fabric

Although it has been quiet here at the Susie Can Stitch blog, I have been hand stitching so much I have a crick in my neck and muscle fatigue in my leg because I sit with my leg curled up underneath my body and I get so focused on what I am doing that I forget to move around.

I hope to take some pictures of the pouches and hair pins I've been stitching, but in the meantime, here is some of the Birthday Booty I got a few weeks ago. My family totally gets me:
Crafty Birthday gifts for Me!

Mom got that big stack of fat quarters last year at a fabric store we visited together. She also gave me that challenging quilt pattern underneath that is gorgeous but is all curves. Curves freak me out. The stack is so lovely, I've been displaying it like sculpture since I received it. My niece and nephew picked out the bright fat quarters when my brother took them to their local JoAnns. They also picked out those tools which are pom-pom makers.

My SIL said that nephew asked "What does one do with a pom-pom maker?" Craft things with pom-poms! I think I'll use up some of my cheap yarn stash on the pom-poms and use them in my gift wrapping this year.

My husband fueled my video game addiction with a Nintendo DS of my very own. It is totally frivolous, but I love it. Mario totally rocks my world.

It is very strangely cold here in Chicagoland. We'll probably have a white Thanksgiving later this week. My children have the whole week off from school and the sun seems to be setting at like 4:00. It feels surreal, but just the type of weather that justifies my obsessive stitching.

Thursday, September 11, 2008

Clover Yo-Yo Tool

Last night was Open House in my daughter's classroom. I was embarrassed when the teacher got to the part about the nightly reading and math logs and let out an "Oh God" sigh that was audible to most people in the classroom including the teacher. The PTO president sitting next to me laughed out loud. I didn't realize anyone could hear me. Oops! In my defense, most people hate reading and math logs, but I think it is a district or state requirement or something. Also, I am loud because my husband is hearing impaired and he really needs new hearing aids. Um, yeah... I blame my husband.

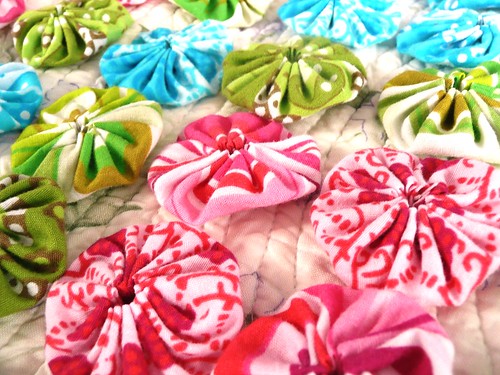
Fabric YoYos

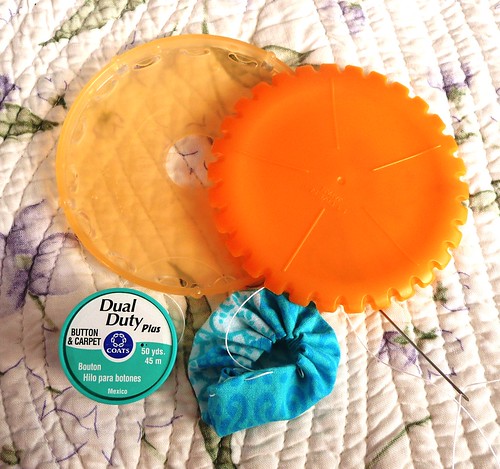
Check out this Clover Yo Yo maker. I can't wait to share my enthusiasm for this gem of a tool. I want to do a review of it for Craft Critique, but since no one has gotten back to me on that, I'm not waiting to share my project. Seriously, if fabric yo-yos have ever tempted you, run don't walk to the craft store (with your newspaper coupon) and get one of these. They come in several sizes and there is even a heart shape and a flower yo-yo tool you can use as well.

Clover Yo Yo Tool
I know how to make yo-yos without the tool, but I never seem to get to it. Sunshine is my yo-yo making idol. Recently, she mentioned that her kids like using the tool so I picked one up and gave it a try. I use thick button and carpet thread on mine. This thread holds up to the gathering you will do on your yo-yo.

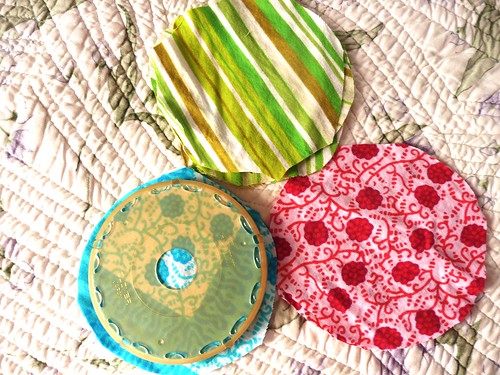
Clover Yo Yo Tool

I roughly cut a pile of circles larger than the tool template. This fabric was bandanas that I made into 3 pairs of adorable capri pants for my daughter when she was in preschool. (Martha Stewart tute HERE). I hated to toss out the outgrown pants and decided to reuse them for this project.

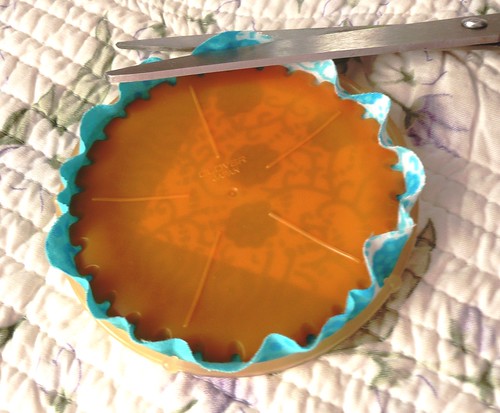
Making these is pretty simple. You put your fabric between the 2 plastic circles so that the ridges on the inside part line up with the little nobs on the outside part. Trim your fabric to between 1/8 and 5/16 seam allowance.

Clover Yo Yo Tool

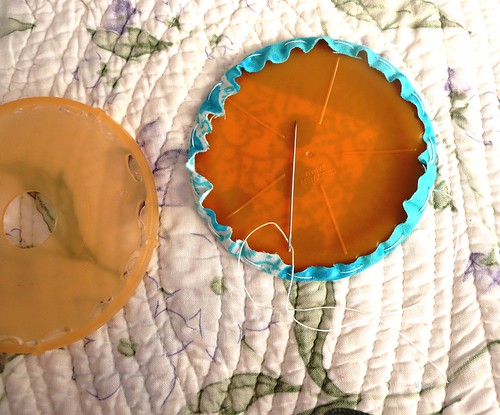
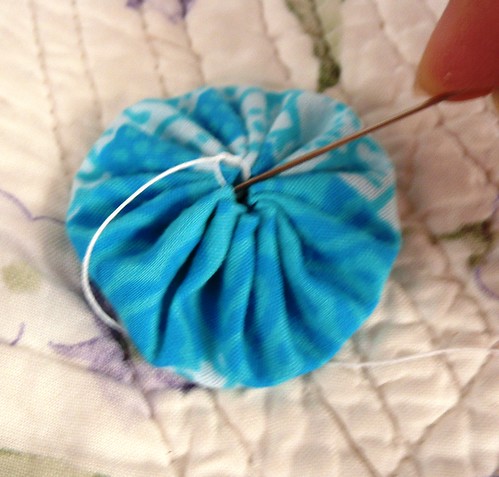
Sew in and out of the little grooves provided on the tool. Lazygirl has a better tute, but once you have the tool, it is pretty easy to figure out what to do. Go all the way around overlapping the first stitch when you get to the beginning of the circle. Do not backstitch because you will need to gather the stitching.

Clover Yo Yo Tool

Even though this pic is blurry, you can see that you pull the thread as tight as you can and knot it as closely as possible. In the past when I've used regular sewing thread, this is the part where my threads break. Straighten out your delicious piece of fabric perfection.

Fabric YoYo

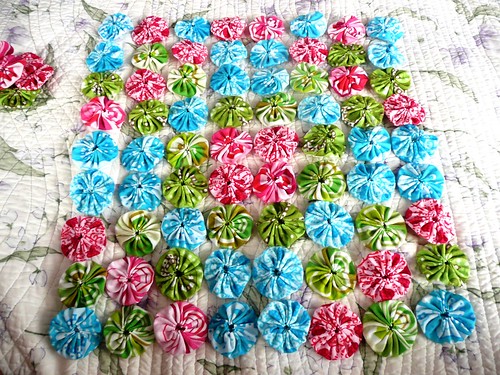
And that's it! It goes really fast once you get going. I made a large pile a lot faster than I did that cross stitch from the other day.

Fabric YoYos

Now I have to connect them and I'll have a little coverlet for my daughter's doll bed. I did want to have her make some of these, but I was so excited I used up all the fabric before she got home from school.

Friday, February 29, 2008

Big Kick

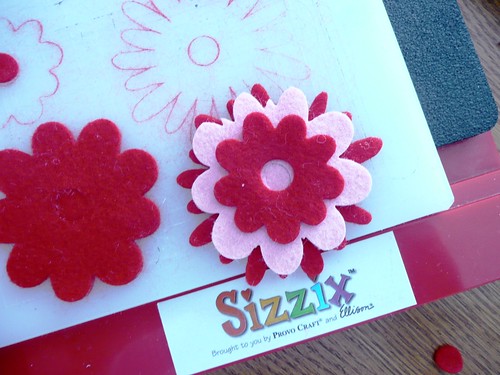
Read my friend, Donna's adventures cutting fabric with the Sizzix Big Kick over at Craft Critique HERE.

She found that those little thin dies you see all over the craft stores do not cut even the thinnest fabric, so I guess I purchased the right kind of system for my needs. Donna even made a cute penny rug with her die cut felt circles. I like the way hand stitching softens the slick perfection of die cut things.

Wednesday, February 27, 2008

More Die Cut Tests

I came home last night after seeng the play "Gees Bend" with my mom to a new comment on my die cutting adventures.

Crafty Chica said...
love them!!! i don't know why, but i've never gotten the hang of using a die cut machine, i always do something wrong. i'm a dork, i know! but you have inspired me to try again!!! your tags are just plain COOL!!

That's the Crafty Chica, Cathy Cano-Murillo, author and crafty rock star.

Then there was this question this morning:
Elaine said...
Do you think this machine would do thin plastic for stencils?


So here is a few more tests and clarifications.

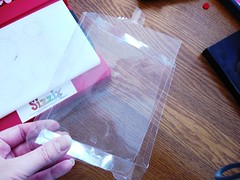
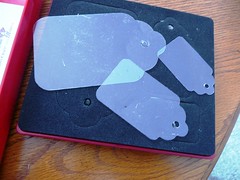
I don't have any actual template plastic, but I did still have the packaging for my new dies so I took one apart to use as a test. This plastic is pretty much the same as the template stuff you buy at the store as "template plastic".
P1010101

There is sort of a trick to die cutting. I guess I did so much in my teaching days that I forgot how we had to learn how to do it. We probably had a day long session about this, the laminator, and the ins-and-outs of the overhead projector in one of my teacher prep courses. This machine has a smaller presser than the commercial die cutters I've used before.

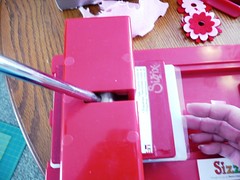
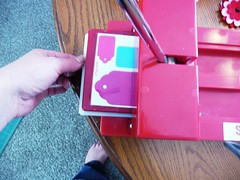
You layer the material, on top of the little cutting mat and center the die over them both so you'll have a die cut sandwich. I pressed three times moving the sandwich carefully, only touching the plastic cutting board base so the material wouldn't slip. You have to be sure to press the arm all the way down.

P1010102P1010104P1010105P1010106

Yes! It cuts template plastic just as well as felt, fabric, and interfaced fabric!

Last night, however, I couldn't sleep, so I watched the second half of the Cricut infomercial. It's probably one of THESE.
It's very alluring and that thing is really popular. It really seems like papercrafting supplies are taking over and needle-and-thread fabric people like me are having a harder and harder time finding our stuff. I guess I don't help things by not buying tools and gadgets very often...

Here's a video of a different product, the Sizzix Big Kick. It's in French, but it's quick.

I think the advantage of this machine is that it doesn't have the big long arm, so it will stow away more easily. It will hold larger dies as well as the smaller ones, but that plastic handle looks flimsy and I don't like to do all that cranking.

Tuesday, February 26, 2008

Die Cutting Fabric and Felt

I did a quick test drive of my new die cutter yesterday. I have a gently used Sizzix brand "Original Sizzix Machine" made by the Ellison company.

My love affair with the magic of die cutters began back in my old classroom days. Many schools have at least one big die cutting machine made by Ellison and I know those school/commercial models to be true workhorses. The popular die cutter today seems to be the "Cricut". That thing is really expensive and only cuts paper and I don't know, probably vellum and the other supplies papercrafters are really familiar with. Another type is the Cuttlebug. Cuttlebug dies are cheaper, but very thin and I don't know if they can cut felt.

This machine can use many different brands of dies, but I found the type that go with this specific machine. I prefer simple shapes without lots of details, I got these cute tag dies, some flowers, and I have a circle die coming later this week from ebay.
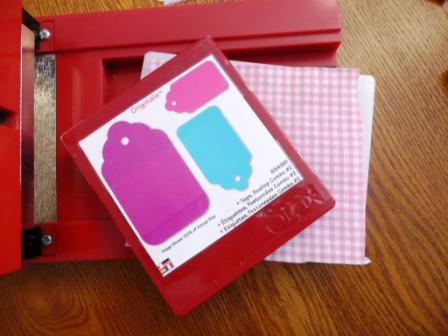
P1010087

Mom gave me some vintage yardage of pink polyester gingham so I used that for my first test cuts. First I did fabric without any backing or interfacing. It cut perfectly! P1010088 See! By perfectly, I mean perfectly! Still, though... I need some sort of stiffener or fuseable webbing to use little gingham fabric tags, so I ironed some interfacing on and tried again:
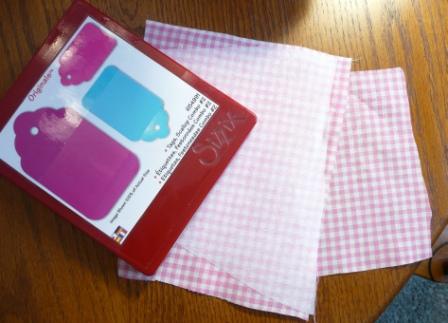
P1010086\
P1010090

Even better! I used one as an identification tag on my tea towel for my new swap going around.

Okay, my friends, now for the real test... felt.
I've been using some heavier duty punches. These are disaster with acrylic felt:
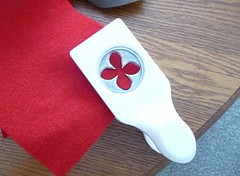
P1010092P1010094
No amount of muscle makes these things go through acrylic or polyester felt.

They do make it through wool/rayon blend felt, but I have to clean up the fuzzies afterwards:
P1010096

But the die cutter has no trouble with either type of felt:
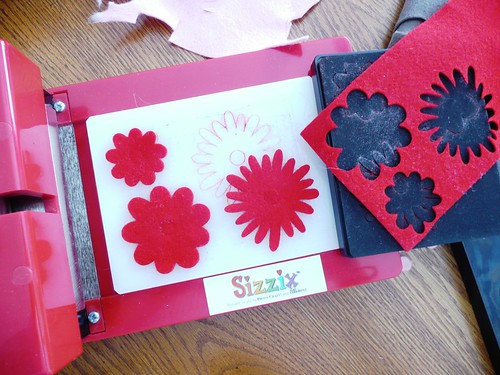
P1010099
P1010100

These dies cost about $15 US at JoAnns, but they were on sale for about $9 when I got them. I'm a serious cheapskate, so even that is a bit pricey, but evenly shaped flower petals and perfect, consistent circles are really hard to cut with scissors, so this is worth it to me!

Monday, February 25, 2008

Tea Towel Tour Round 3

I've been out of swaps since the fall and I miss it, so I signed up to be a group captain for a round three Tea Towel Tour over at Craftster.

Alicia over at Posy Gets Cozy posted a great tutorial about binding tea towels HERE. It really does look great, so I got out some vintage style fabric I had a lot of yardage for and cut 2 inch strips on the bias and made my own bias tape.
bias tape maker
This tape maker is a Dritz brand and it was a bit of a problem because it kind of slides around when I used it. I want to get a Clover brand one in this one inch width or 3/4 inches will do...

I worked it out and I'm happy with how it turned out. It does work best to cut off the hems of your tea towel, square up your towel, and then bind the raw edges. You'll get less bulk that way.

Bias binding

I think I want a kitchen kitsch theme for this towel. You know those old fashioned dancing plates and silly fruits and veggies? Sort of along those lines. I am always happy with what people stitch for me. It's so fun! I'll probably get my first towel from my group to stitch later this week.

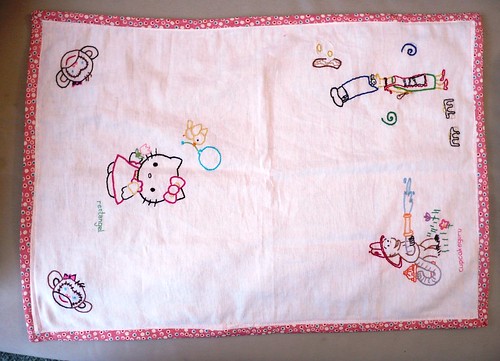
I liked this binding so much I did my towel from round 1. I was going to do a last motif for this one, but that looks like it isn't going to happen so it's time to get this towel out of my sewing basket and into the kitchen where it belongs:
Bound Tea Towel

Tuesday, February 12, 2008

DIY lightbox

Thanks Marichelle and Joyful Abode for their DIY lightboxes.

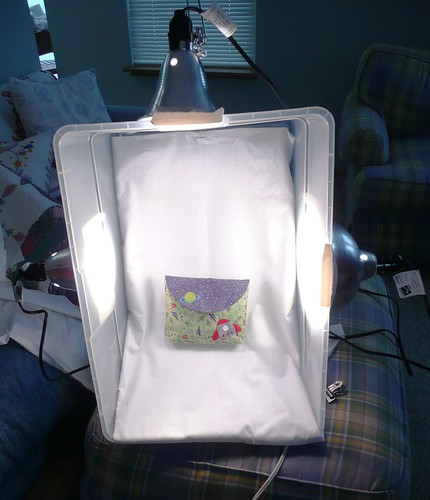
Here's the set up I did today:
Light Box Set up

I used clip on lights. I should have bought three of the larger sized ones, but I wanted to save a couple of dollars.... I used duct tape to tape the lamps right to my plastic tub. Since the lights are hot halogen ones, I have to be sure to switch off the lamps so I don't melt my plastic tub. (edit- I switched the tape to heat resistant aluminum tape and it works much better than duct tape. You can find it in the same area of the hardware store as duct tape.)

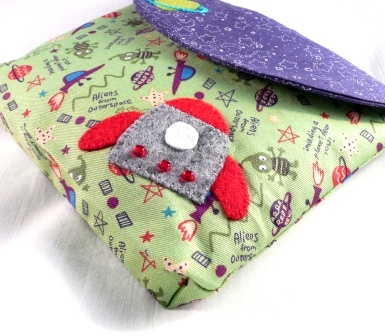
Here is the result:
P1000991

I was able to achieve this with my old method of laying the items out by a sunny window, but the light that way was too inconsistent. I only did some very small photoshop tweaks to get this to come out. I also got 4 separate angles of this item and the color matches on each photo. Yeah... I'm a lightbox convert. My camera is one of the littler digital ones, not one of those fancy SLRs people have so much success with.

It turns out that I thought I needed a tripod, but I have a good steady hand and it is easier to snap super closeups without the tripod set up. I love that little flower setting on my camera.